
Last Updated on October 21, 2024 by Renee’
Learn How to Can Beef or Venison. Pressure Canning is a way to preserve food for long-term storage. I especially like it because it doesn’t get freezer-burnt. The food is already cooked so you just open it up & add to stews, casseroles or eat it just like it is.
A couple of years ago my husband and I bought a whole grass-fed cow from a local farmer & had it processed & frozen. So, a few months later one of our freezers went out so we had to figure out what to do with all the grass-fed beef we had. We couldn’t afford to lose it. And believe me, it was a lot of meat!! So what to do? My dad said, “Can it!!”
Really? He said, “Haven’t you ever seen canned roast beef at the grocery store?” Well, yes, I had. We grew up on it, served over rice or mashed potatoes. So we had a plan.
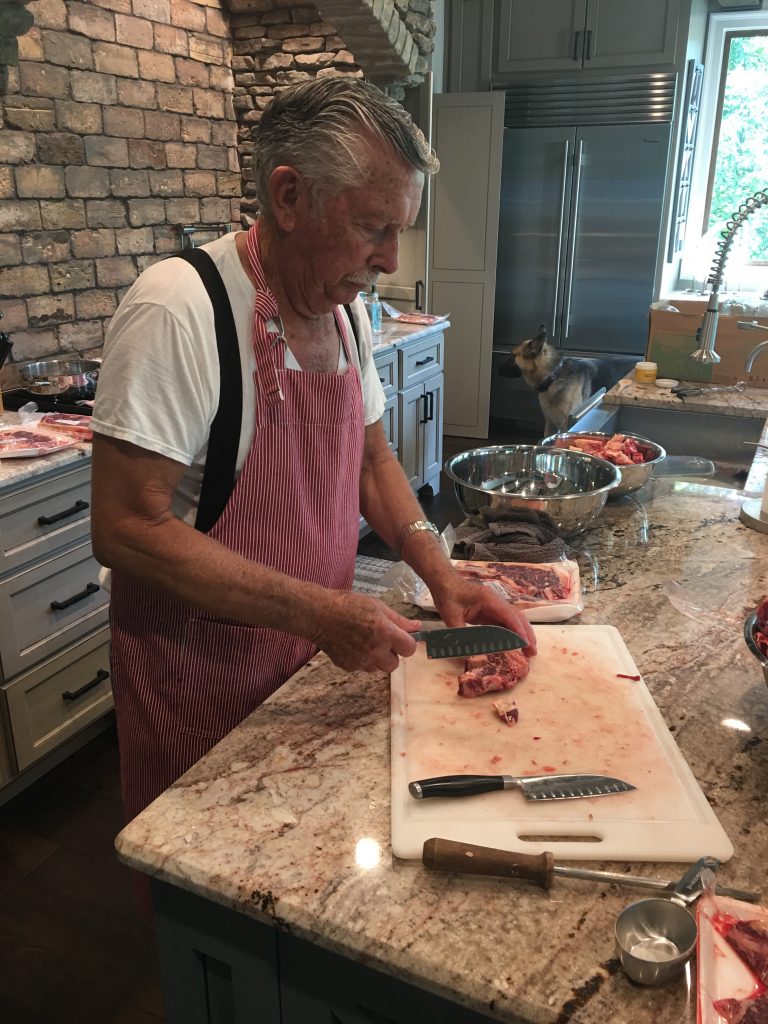
So my dad came over and cut up all the meat into cubes for me while I sterilized all my jars in my dishwasher. I think I had the easy job!! He used to be a butcher years ago, so he knew exactly how to do it! You can also have your butcher cut it up for you. That would be a time saver without all the mess.
My husband has been deer hunting & we have a ton of deer meat in the freezer, so guess I’ll be canning some of it too. With grass-fed meat & venison, they tend to be a little tough. So, canning the meat takes care of that problem. It’s so tender & juicy. I like to add seasoning such as garlic & onion powder to the venison. This helps to take away the “gamey” taste.
Raw Pack or Hot Pack
There are two methods of canning meat. One is a Raw Pack & the other is a Hot Pack method.
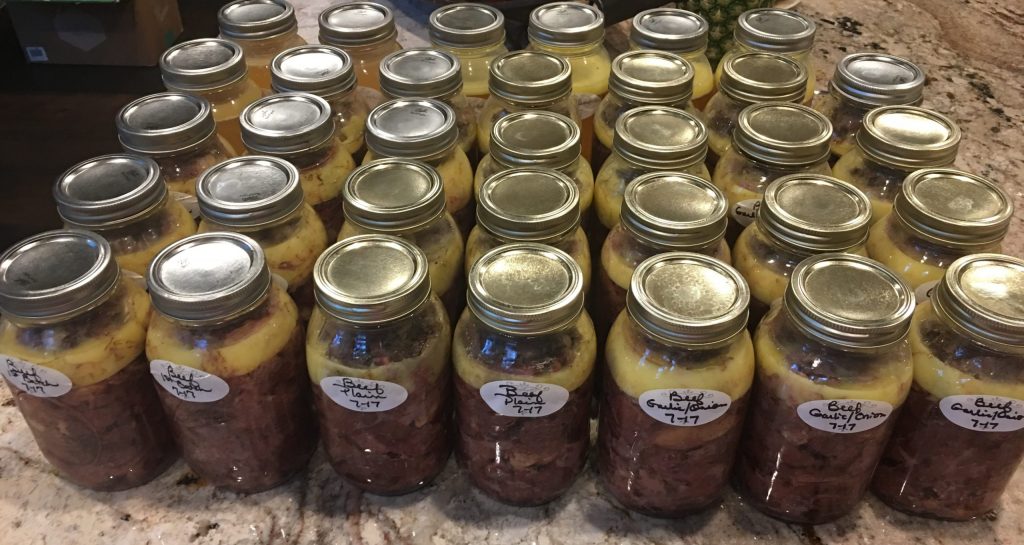
Raw Pack is easier because you just pack the meat into the jar without any liquid. It will make its own broth while canning. I made the mistake of adding water with the first batch & you can imagine the mess it made. Too much liquid has to go somewhere. Well after I cleaned up the mess (it just boiled out of the lids into the canner) I started again. This time with no water in the jars. It worked perfectly. Because it was grass-fed beef, the broth, after it was done canning, didn’t completely cover the meat. That’s not a problem as far as I know & have read. It’s been nearly 3 years & we haven’t had any issues. Raw Packing saves a lot of time & dishes. This is my favorite way to can meat.
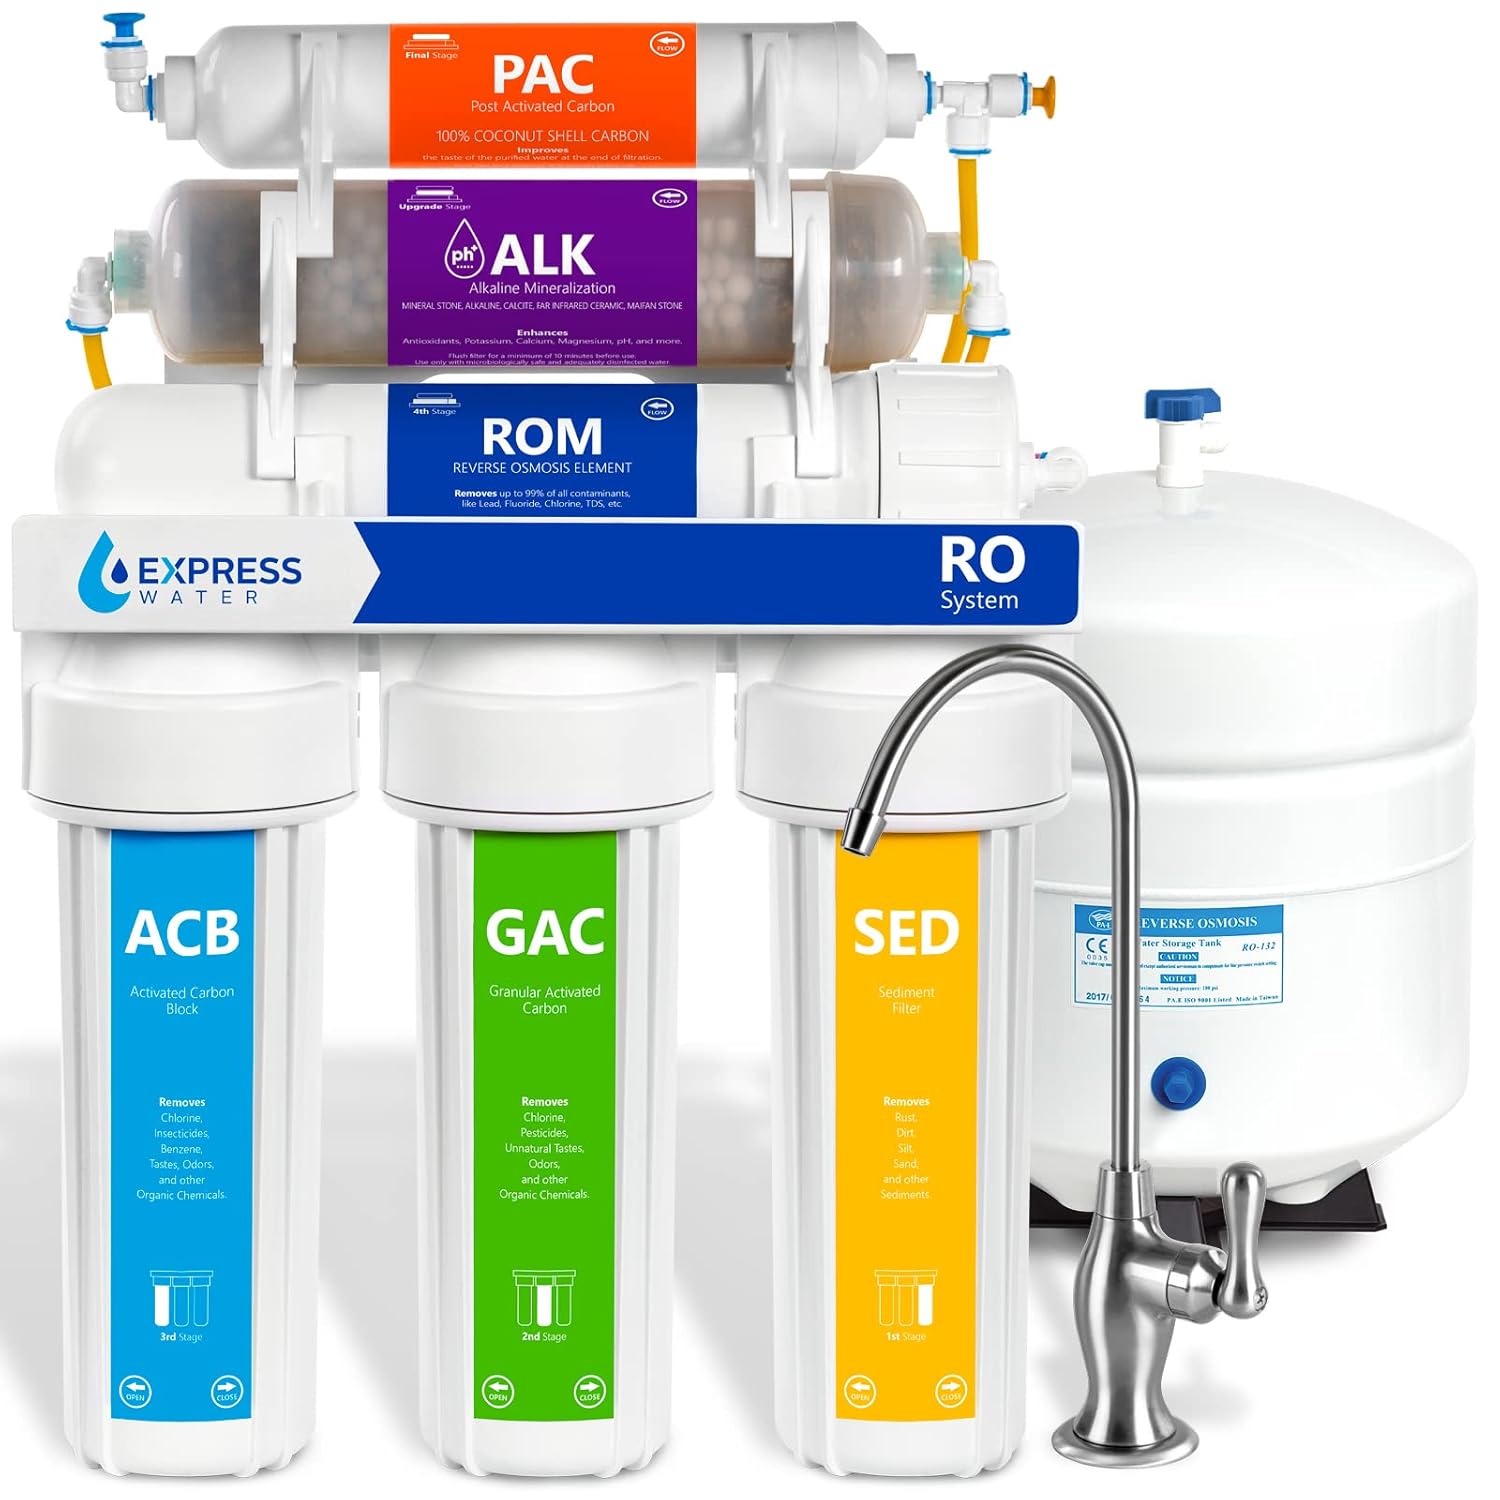
That being said, If you are doing Venison or grass-fed beef you might want to do the Hot Pack Method because the meat might not have enough broth to cover the meat. To Hot Pack the meat you simply pre-cook the meat until rare with a little oil & add the hot meat, drippings, broth & enough filtered hot water to cover the meat leaving 1 in. headspace. Make sure your water is filtered. No chlorine or fluoride. I use the Berkey Filter system. I love it!!
These methods apply to any meat, beef, venison, pork, bison, elk, bear, etc…
Always remember, Hot meat, (hot pack) hot jars, hot water in canner. Cold meat (raw pack) cold jars, cold water in pressure canner.
Make sure your water is filtered. No chlorine or fluoride. I used to use the Berkey Filter system but have recently put an under-sink Reverse Osmosis system in. I truly love it!
For more info on this read this article from the National Center for Home Food Preservation.
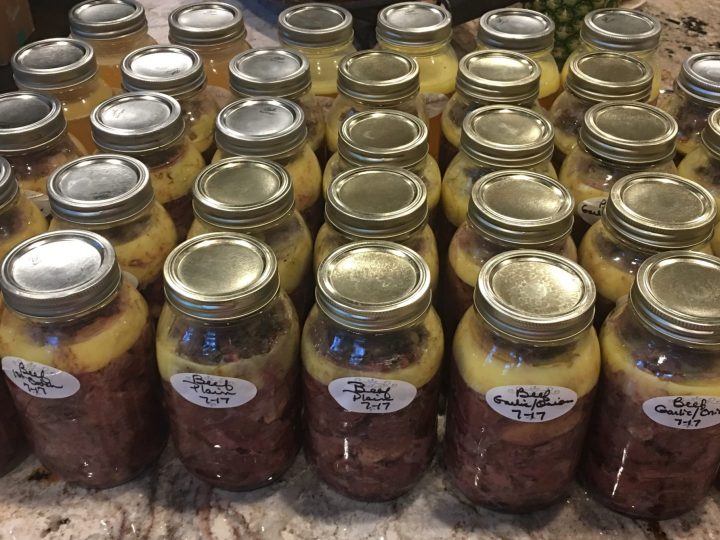
I chose to use the raw-pack method and left some of the fat on the meat. After my dad got all the meat cut up, I added my seasonings and salt and started raw-packing it into the jars.
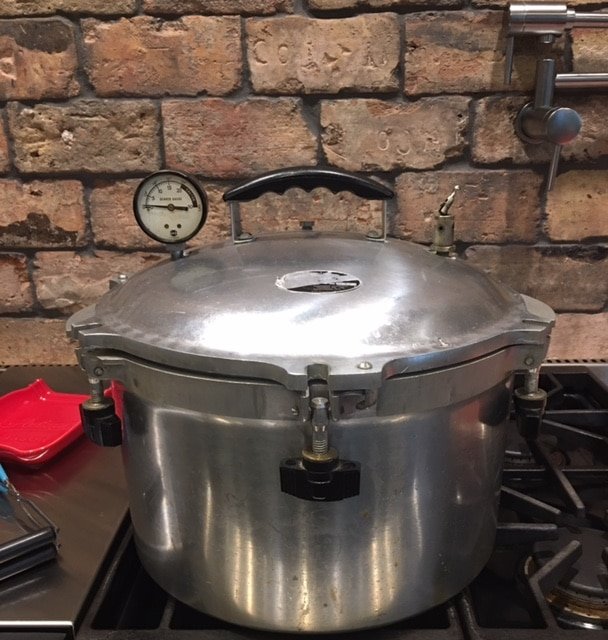
My canner, which my mom gave me and is probably as old as I am, still works like a charm! This is a newer version of it. This canner has a metal-to-metal sealing system, so you don’t ever have to worry about gaskets.
UPDATE:
-
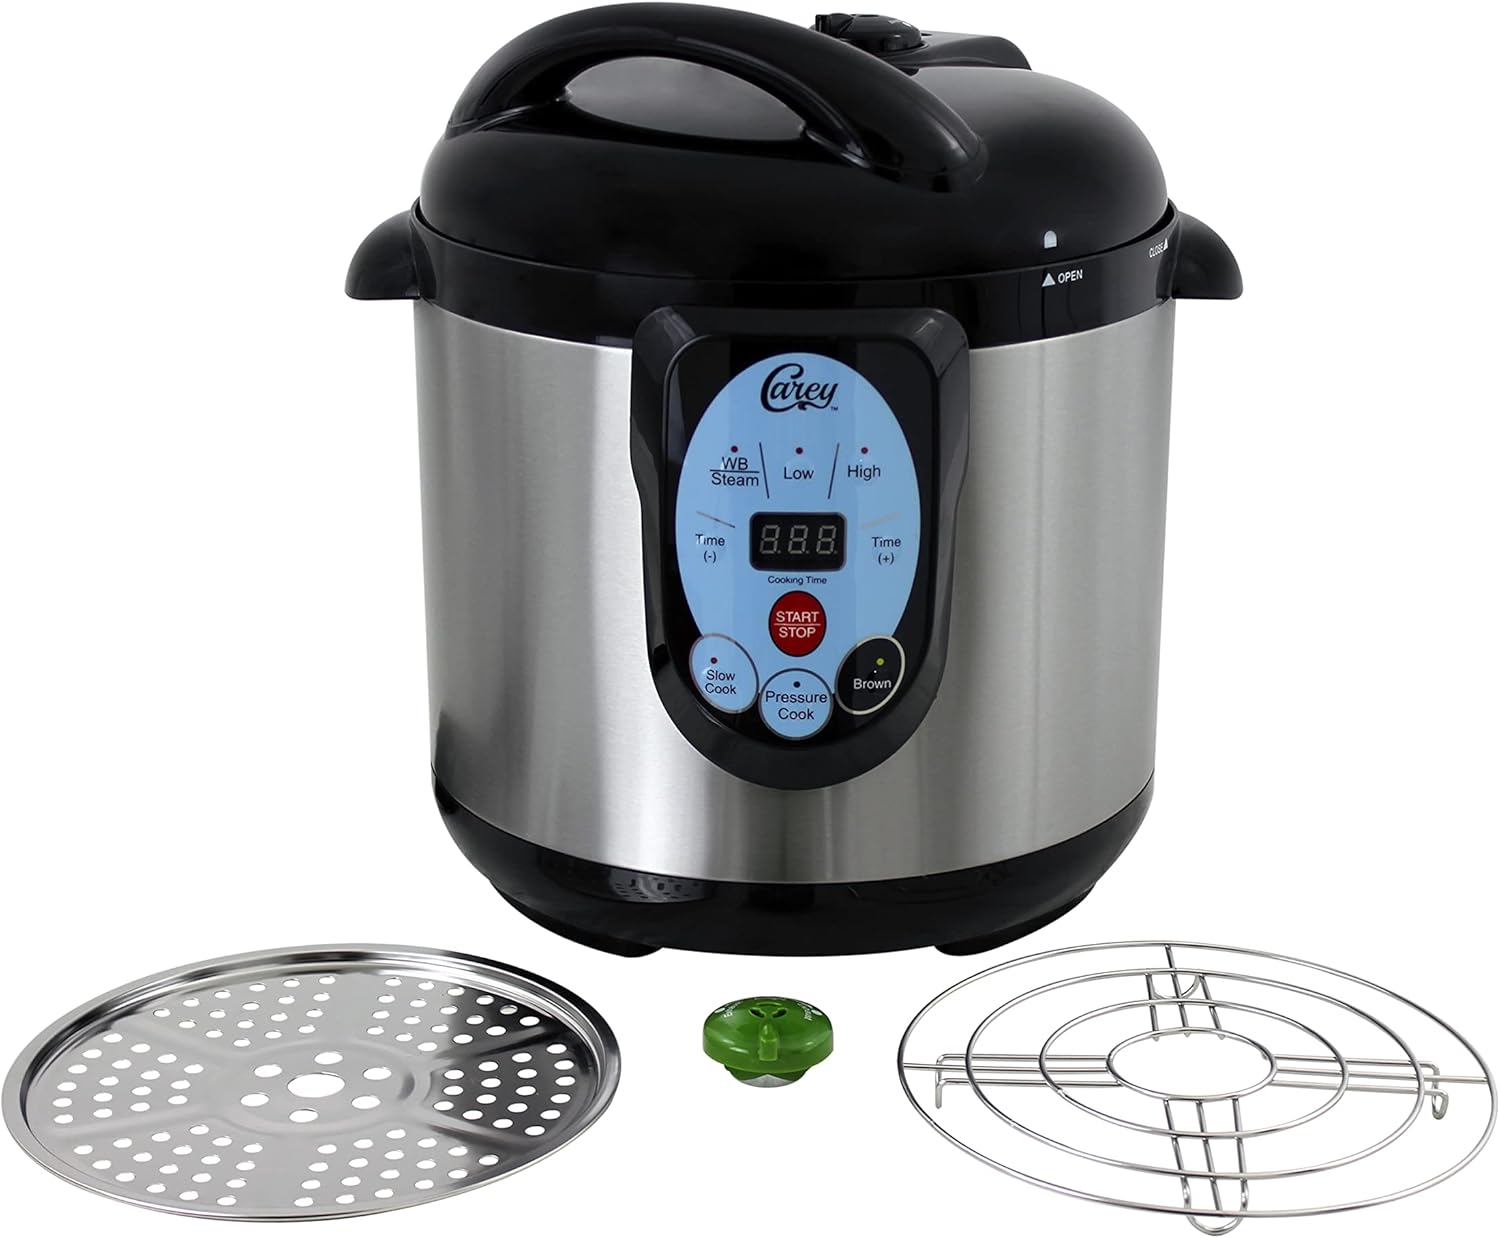
- I recently bought an Electric Canner. It’s all the rage now. OMG! I love that after it comes to pressure, you can leave it & you don’t have to monitor like a stove top canner. I can’t tell you how this has changed my life. I loved it so much that I bought another one. So much easier than my All-American. Don’t get me wrong, I still love it but this is a game-changer. It’s also perfect for small-batch canning.
Ingredients:
- Beef cut into 1 in. cubes (roughly 1 1/2 lbs per jar)
- Sea Salt (optional) 1 tsp. per quart or 1/2 tsp. per pint
- Filtered Water (I love my Berkey filter system) Do not use Tap Water due to fluoride & chlorine.
- Onion Powder, Garlic Powder Etc… (optional seasonings)

What you will Need:
- Pressure Canner (I love this one. It is the newer version of what I have. It has a “metal-to-metal” sealing system for a steam-tight seal; No gaskets to crack, burn, replace or clean)
- 7 Quart Jars with Lids
- Jar Lifter
- Tongs
- Large Pan with hot water for rings & lids
- Med-Large Pot (to cook the meat if you are Hot Packing)
- Cutting Board
- Sharp Knife
- Large Stainless Steel mixing bowl (to put the cut-up meat in until you are ready to put in the jars)
- Bubble Remover or Wooden Spoon for removing bubbles (I use the handle or you can use a butter knife) (this is for the hot pack method)
Directions:
- Sterilize Jars. My dishwasher has a sterile cycle, so I just make sure to run them on the sterile cycle ahead of time.
- Fill the canner about 1/4 – 1/3 way full with hot water or to the fill line if your canner has one & turn on low to med. heat.
- Put the lids with bands into a pan of boiling water.
- Add 1 tsp. of sea salt & any optional seasonings to the jars.
- If using the Raw Pack Method, pack jars with meat leaving 1 in of headspace. Pack firmly. Do not add water.
- If using the Hot Pack Method, pack jars with hot meat, broth, drippings, & enough hot water to fill leaving 1 in. headspace, packing firmly. Remove any air bubbles using the handle of a wooden spoon or butter knife.
- Wipe the rims of the jars with a damp paper towel & put the lids on using tongs. They will be hot. Don’t try to tighten too tight, just finger tight as they say.
- Use a jar lifter to put the jars into the pressure canner.
- Put the pressure canner’s lid on & tighten it according to your canner’s instructions.
- With my pressure canner, I turn the heat up to med-high until steam starts coming out the vent then I close the vent & let it start building pressure. Make sure to follow your canner’s instruction manual.
- Bring pressure up to 10 lbs. Cook 75 min for pints or 90 min for quarts. Make sure to check your canner’s manual to adjust for your altitude.
- Once it is done, turn off the heat & let the pressure come completely down to zero. This is very important. Do not attempt to relieve pressure manually. Once the pressure has completely come down, open the vent & lid.
- Remove jars using jar lifter & allow to cool for 12-24 hours before moving. You can remove the outer rings as they are not necessary after canning.
Serving Suggestions:
- I love to serve canned beef or venison over cauliflower rice.
- Easy Paleo Beef Chili
- Paleo Korean Ground Beef over Cauliflower Rice
- Paleo Unstuffed Cabbage Roll Stew
*Scroll down for a printable recipe card.
More Canning Recipes:
- How to Can Potatoes
- How to Can Green Beans
- How to Can Okra
- How to Can Squash
- How to Can Bone Broth
- How to Can Tomatoes
- How to Can Ground Beef or Venison
Share on Pinterest

More info on canning & preserving here & get your free guide to canning here.
How to Can Beef

Ingredients
- Beef cut into 1 in. cubes (roughly 1 1/2 lbs per jar)
- Sea Salt (optional) 1 tsp. per quart or 1/2 tsp. per pint
- Filtered Water (I love my Berkey filter system) Do not use Tap Water due to fluoride & chlorine.
- Onion Powder, Garlic Powder Etc... (optional seasonings)
Instructions
- Sterilize Jars. My dishwasher has a sterile cycle, so I just make sure to run them on the sterile cycle ahead of time.
- Fill the canner about 1/4 - 1/3 way full with hot water or to the fill line if your canner has one & turn on low to med. heat.
- Put the lids with bands into a pan of boiling water.
- Add 1 tsp. of sea salt & any optional seasonings to the jars.
- If using the Raw Pack Method, pack jars with meat leaving 1 in of headspace. Pack firmly. Do not add water.
- If using Hot Pack Method, pack jars with hot meat, broth, drippings, & enough hot water to fill leaving 1 in. headspace, packing firmly. Remove any air bubbles using the handle of a wooden spoon or butter knife.
- Use tongs to put the lids on the jars. They will be very hot.
- Wipe the rims of the jars with a damp paper towel & put the lids on. Don't try to tighten too tight, just finger tight as they say.
- Use a jar lifter to put the jars into the pressure canner.
- Put the pressure canner's lid on & tighten according to your canner's instructions.
- With my pressure canner, I turn the heat up to med-high until steam starts coming out the vent then I close the vent & let it start building pressure. Make sure to follow your canner's instruction manual.
- Bring pressure up to 10 lbs. Cook 75 min for pints or 90 min for quarts. Make sure to check your canners manual to adjust for your altitude.
- Once it is done, turn off the heat & let the pressure come completely down to zero. This is very important. Do not attempt to relieve pressure manually. Once the pressure has completely come down, open vent & lid.
- Remove jars using jar lifter & allow to cool for 12-24 hours before moving. You can remove the outer rings as they are not necessary after canning.
Recommended Products
As an Amazon Associate and member of other affiliate programs, I earn from qualifying purchases.
-
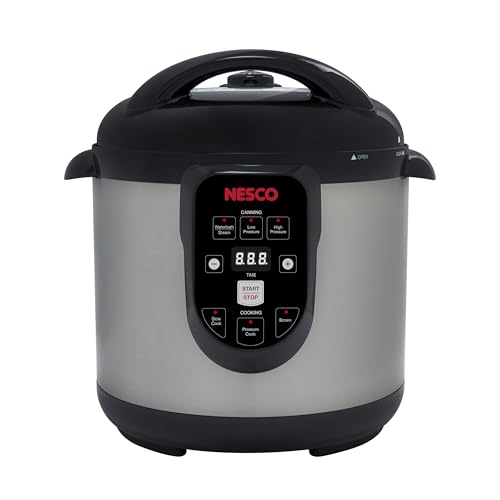 NESCO NPC-9 Smart Electric Pressure Cooker and Canner, 9.5 Quart, Stainless Steel
 -
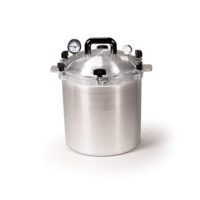 All American 25-Quart Pressure Cooker Canner
 -
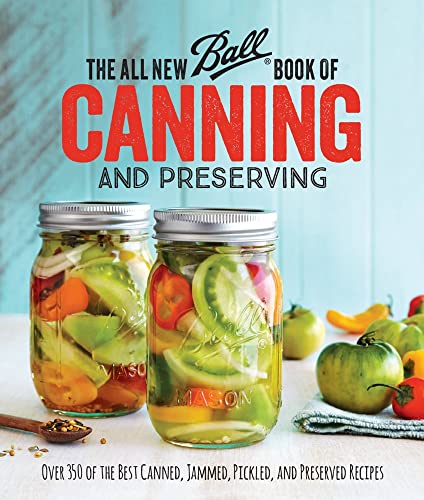 The All New Ball Book Of Canning And Preserving: Over 350 of the Best Canned, Jammed, Pickled, and Preserved Recipes
 -
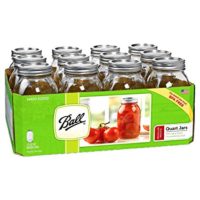 Ball Regular Mouth Quart 12 Pieces Jars (32oz) Made in USA, Clear
 -
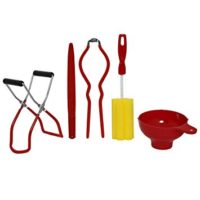 Five-Piece Home Canning Kit by VICTORIO VKP1041
 -
 6 Pcs Stainless Steel Mixing Bowls Set with Measuring Spoons - Nesting Mixing Bowls 1, 1.5, 3, 4.5, 5, and 8 Quart Bowls
 -
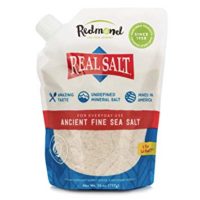 REDMOND Real Sea Salt - Natural Unrefined Organic Gluten Free Fine, 26 ounce pouch (1 Pack)
I would be honored if you followed me on Pinterest, Facebook, Twitter, & Instagram!
If a jar lost some liquid when removing it from the canner and did not seal, can it be eaten the next day?
I would say yes as long as it was refridgerated.
How much hambuger will a quart jar hold?
Great question! Usually, from my understanding, a pint holds approx. 1 lb & a quart is approx. 2 lbs. Hope this helps.
Can you can hamburger in tomatoes, and if so, should you fry the hamburger first? I’m wanting to can homemade spaghetti sauce.
Yes, you can can spaghetti & meat sauce. Make your spaghetti sauce as you normally would then can the same as you would cooked meat.
Can I brown the roast first? I don’t need it cooked but would like it to be brown 🤗
Yes, you should be able to brown it first. I would pour any juices back in the jars.
I was excited to see you old canner. I found one of these at a rummage and haven’t use this style before. Any tips you can give me? I have another old National brand one I love but would love have 2 going at the same time
Hi Ruth, That’s Awesome! I wish I could find another one too! I love that I inherited it from my Grandmother & Mother. One thing I do love about it is that you don’t have a gasket. From what I hear about other canners that have gaskets they can go bad. Nothing worse than trying to can & realizing your gasket is bad. I love the idea of having 2 canners going at one time. What a time saver that would be. Let me know how you like it after you use it!
Hello, new to canning here. Yesterday we canned steak with veggies and potatoes, the steak still looks Red. Is this normal? It was processed for 90 min at 11lbs pressure. I used raw pack method.
It should be fine. Mine did the same thing.
Can beef be canned using the stovetop canners for green beans as opposed to a pressure canner? And how long will it last.
I’m not sure if you are talking about a water bath canner, but I would only use a pressure canner for meat. I have beef & venison that I canned 3 years ago & we are still eating it. Preferably use it within a year or two.
My mom always told me that the arm roast had the best meat for canning. That is what I usually get.
For Some reason, I cannot get the recipe to print off. I have never canned meat or used a pressure canner. I am a little anxious and was glad to find your website.
Hi Cyenthia, I’m sorry you had trouble printing. I just tried it & was able to print. Not sure what the problem is. Hopefully, you can try again & it will work. I was a little anxious the first time I canned meat too. My first batch I added water & it overflowed in my canner. I learned not to do that unless the meat is very lean. It gets easier with practice.
Which cuts are best? I was thinking the cube steak would be much more tender canned. Hamburger?
Hi Sheila, Great question! I have canned hamburger, roasts, pretty much every cut. I don’t do the tenderloin because I save that for the grill. I have not tried canning cube steak though. So not sure how that would turn out. I’m sure it would be fine!
Good Evening! I want to can meat but do not have a pressure cooker. Can I hot water bath it? I am afraid of a pressure cooker! Do they ever blow up? Break all bottles? I have no idea where that fear came from! Do you have a video of you doing it?
Diane, No you would need a pressure canner. I was the same way when I started. Nothing to fear. Just follow the directions with your pressure canner. I linked to the one like I have in my post. It is a gasketless one which I prefer. Don’t be afraid. If you get one, let me know. I’ll help walk you through it.
hi Renee,
Thank you for sharing. I didnt know you could can meats. What’s the shelf life for the canned meats?
Hi Edith, Great question? I have read that to get the best flavor a year, however, I have some that I canned in 2017 & we are still eating it. I think it’s still just as good as it was when I canned it.
Renee, Thank you for sharing this info on canning meat on my request!
I am just learning to use my pressure canner and as we are planning on getting a side of beef I wanted to have a shelf-stable option for preserving it in addition to those that require electricity. While the process feels daunting at first, your article helped clarify my concerns & I feel more confident as a result. Much appreciated!
Melinda, Thank you for your comment. I have been needing to write this post for a while, & you just motivated me to do so. Thanks!!! I’m glad it clarified some things for you. Let me know if you have any more questions!