

Last Updated on October 21, 2024 by Renee’

Well, this summer I have been canning up a storm! (a Southern saying) I don’t even know what that means, but I’ve heard it all of my life. It first started with green beans from my dad’s garden then squash, tomatoes and potatoes.

My dad, as usual, planted a huge organic garden & had more than he knew what to do with. So my mother pulled out her old Pressure Canner that she & my grandmother used for years & years.
In fact, they bought it when I was a young girl. Not to tell my age but its at least 40+ years old. I was always afraid of it because anytime they were canning, my mom would make all of us get out of the kitchen. She told us it could explode!

Well, since learning to do this, with her help, of course, I learned it’s not that scary! It’s not going to explode if I do everything right. It’s really not a big deal after all!
Then, one of our freezers went out so we had to figure out what to do with all the grass-fed beef we had. (We bought a whole cow a few months ago.) So what to do? We decided to cut most of it up & can it. So I called my dad!
I couldn’t believe how good it is. So tender & juicy. As you know, grass-fed beef can tend to be a little tough. Well, this takes care of that! No more tough steaks! My family loves it over cauliflower rice. Check out how to can it here.

So, since we were canning a little bit of everything, I thought, “Why not can Bone Broth?” If you aren’t familiar with all the health benefits of bone broth, read here “Why you should be drinking it every day“.
It made so much sense, not to mention, I had all these beef bones that I needed to do something with. Plus, I would always have broth on hand anytime I needed it.
I usually freeze any leftover bones, so I always have some on hand. When I have enough (at least 2-gallon freezer bags) to make at least 2 batches I get out my Instant Pot & start making bone broth.
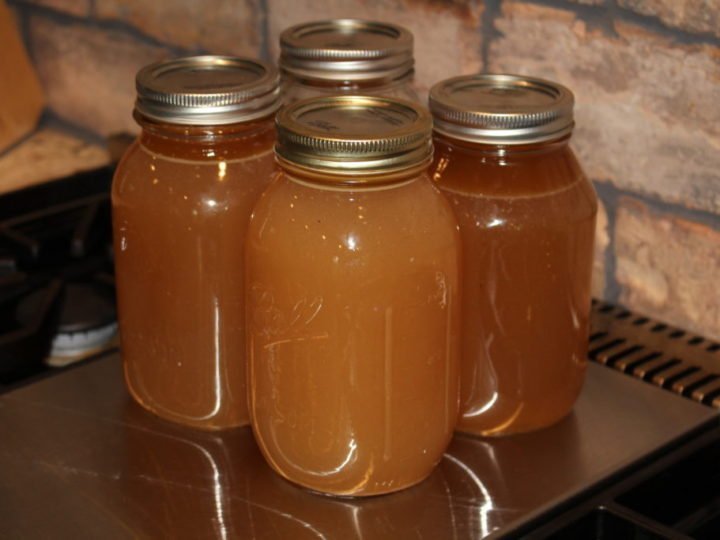
I usually get around 3 1/2 quarts of broth per batch. My (mom’s) pressure canner holds 7 quart jars.

Now I’m wanting another Instant Pot so I can cook both batches at once! I’m seeing this for my Christmas Present in my near future!
Find out how to make Bone Broth in the Instant Pot here.
What you will Need:
- Pressure Canner (I love this one. It is the newer version of what I have. It has a “metal-to-metal” sealing system for a steam-tight seal; No gaskets to crack, burn, replace or clean)
- 7 Quart Jars with Lids
- Jar Lifter
- Tongs or this little handy tool!
- Large Pan with hot water for rings & lids
- Med-Large Pot (to bring Bone Broth to a simmer)
Directions:
- Make your Bone Broth.
- Sterilize Jars. My dishwasher has a sterile cycle, so I just make sure to run them on the sterile cycle ahead of time.
- Just before the broth gets done, fill the canner about 1/4 – 1/3 way full with hot water or to the fill line if your canner has one & turn on low to med. heat.
- Put the lids with bands into a pan of boiling water to have ready as soon as you pour the hot broth into the jars. Use tongs to put the lids on the jars. They will be very hot.
- Strain the Bone Broth & pour into sterilized quart jars. Make sure to leave 1″ headspace.
- Wipe the rims of the jars with a damp paper towel & put the lids on. Don’t try to tighten too tight, just finger tight as they say.
- Use a jar lifter to put the jars of hot broth into the pressure canner.
- Put the pressure canner’s lid on & tighten it according to your canner’s instructions.
- With my pressure canner, I turn the heat up to med-high until steam starts coming out the vent then I close the vent & let it start building pressure. Make sure to follow your canner’s instruction manual.
- Bring pressure up to 10 lbs. Cook 20 min for pints or 25 min for quarts. Make sure to check your canners manual to adjust for your altitude.
- Once it is done, turn off the heat & let the pressure come completely down to zero. This is very important. Do not attempt to relieve pressure manually. Once the pressure has completely come down, open vent & lid.
- Remove jars & allow to cool for 12-24 hours before moving.
*Scroll down for a printable version of the recipe!
This has been the best way I have found to preserve Bone Broth for Long Term Storage. I always have bone broth on hand whenever I need it. It has surely freed up my freezer space.
Here is a picture of all the canning I’ve done so far this summer. I have canned 215 jars of organic vegetables, grass-fed beef & bone broth so far. YIKES!

My winter cooking is going to be so much easier since I have planned ahead. Plus being able to have organic veggies when they are not in season is awesome!
More Canning Recipes:
- How to Can Okra
- How to Can Green Beans
- How to Can Squash
- How to Can Potatoes
- How to Can Beef
- How to Can Ground Beef or Venison
- How to Can Tomatoes
Bone Broth Recipes:
- Paleo Cauliflower Leek Soup
- Paleo AIP Cream of Broccoli Soup
- Hamburger Fauxtato Leek Soup
- Paleo Coconut Chicken Soup
- Hamburger Purple Cabbage Soup
- Easy Paleo Beef Chili
- AIP Paleo Chicken Pot Pie Soup
- Zuppa Toscana AIP Paleo Whole30 Keto
Don’t forget about your pets too!
Also, don’t forget about your pets. My dogs love bone broth poured over their food. They are so spoiled that they won’t eat their food without it anymore. They just look at me like, “are you kidding me mom?” So I always keep it prepared.
It makes their coats so shiny & keeps their guts healthy too!
Pin It for later!

More info on canning & preserving here & get your free guide to canning here.
UPDATE:
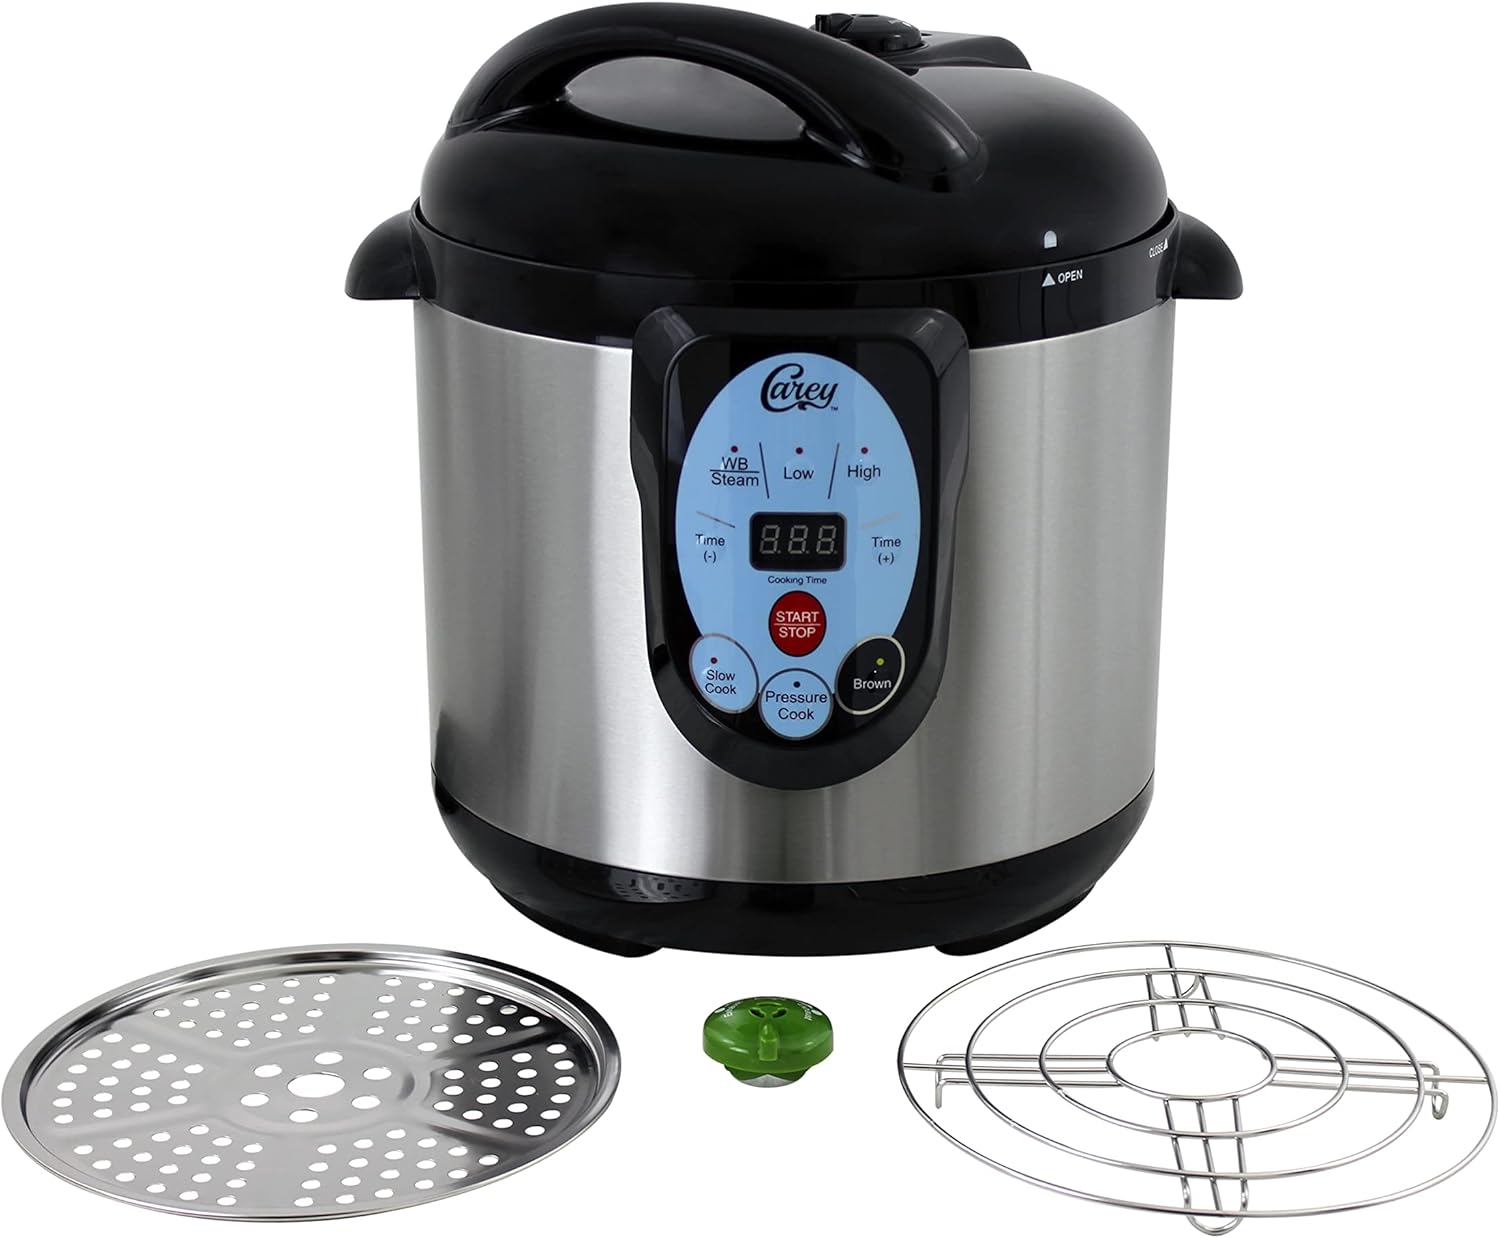
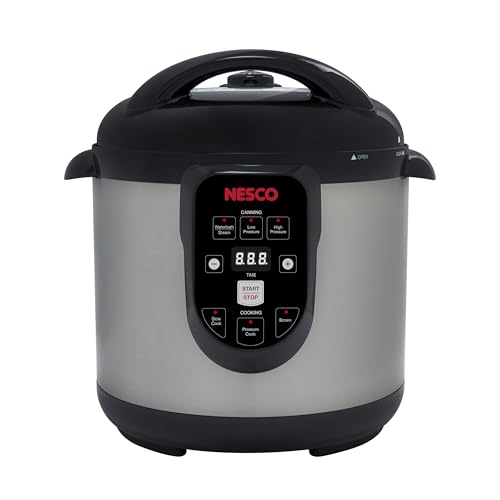
- I have since bought an electric canner that I absolutely have fallen in love with! It is a Nesco Canner (Carey is the same). It holds 4 quarts or 5 pints. Perfect for canning small batches. Also after it comes to pressure, you can leave it & you don’t have to monitor like a stove top canner. I absolutely love it. I already bought another one I loved it so much!
How to Can Bone Broth

Ingredients
- Bone Broth (7 Qts.)
- Pressure Canner
- 7 Quart Jars with lids
- Jar Lifter
- Tongs
- Water
Instructions
- Make your Bone Broth.
- Just before the broth gets done, fill the canner about 1/4 - 1/3 way full with hot water or to the fill line if your canner has one & turn on low to med. heat.
- Put the lids with bands into a pan of boiling water to have ready as soon as you pour the hot broth into the jars
- Strain the Bone Broth & pour into sterilized quart jars. My dishwasher has a sterile cycle, so I just make sure to run them on the sterile cycle ahead of time. Make sure to leave 1" headspace.
- Wipe the rims of the jars with a damp paper towel & put the lids on. Don't try to tighten too tight, just finger tight as they say.
- Use a jar lifter to put the jars of hot broth into the pressure canner.
- Put the pressure canner's lid on & tighten according to canner's instructions.
- With my pressure canner, I turn the heat up to med-high until steam starts coming out the vent then I close the vent & let it start building pressure. Make sure to follow your canner's instruction manual.
- Bring pressure up to 10 lbs. Cook 20 min for pints or 25 min for quarts. Make sure to check your canners manual to adjust for your altitude.
- Once it is done, turn off the heat & let the pressure come completely down to zero. This is very important. Do not attempt to relieve pressure manually. Once the pressure has completely come down, open vent & lid.
- Remove jars, place on a towel & allow to cool for 12-24 hours before moving.
Recommended Products
As an Amazon Associate and member of other affiliate programs, I earn from qualifying purchases.
-
 NESCO NPC-9 Smart Electric Pressure Cooker and Canner, 9.5 Quart, Stainless Steel
 -
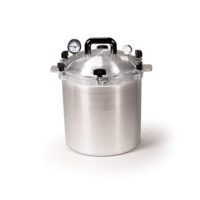 All American 25-Quart Pressure Cooker Canner
 -
 AIEVE Canning Funnel, 2 Pack Mason Jar Funnel Canning Funnel for Wide and Regular Jars, Stainless Steel Funnel Kitchen Funnel Set for Canning Jars Transferring Liquid and Dry Ingredients
 -
 HIC Kitchen Double-Ear Fine Mesh Strainer, FDA Approved, BPA Free, 4-Inch
 -
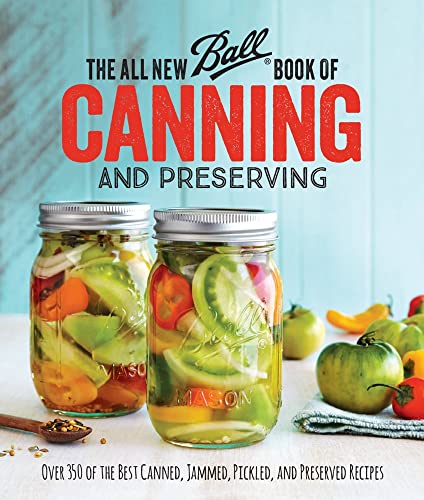 The All New Ball Book Of Canning And Preserving: Over 350 of the Best Canned, Jammed, Pickled, and Preserved Recipes
 -
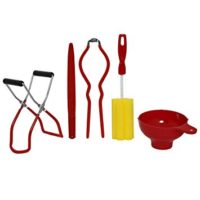 Five-Piece Home Canning Kit by VICTORIO VKP1041
 -
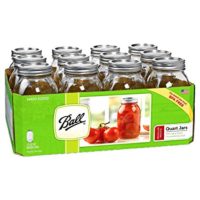 Ball Regular Mouth Quart 12 Pieces Jars (32oz) Made in USA, Clear
I would be honored if you followed me on Pinterest, Facebook, Twitter, & Instagram!
I believe you must pressure can broth at 11 lbs of pressure- you stated 10 lbs. also, when canning broth I find it helpful to wipe the rims of the jars with white vinegar- it cuts grease which can be in the broth.
I see in your jar-filling picture that you have a strainer that fits perfectly into your funnel. Could you share where you bought that?
Hi Caroline, I’ve had this a long time but I think this is the exact one I have. https://amzn.to/3X5py0y
love your kitchen and all that yummy food stocked in the pantry! what a great feeling 🙂
we just processed a deer- BONE BROTH OVERLOAD! going to use this recipe to can up all the jars of broth and venison stew I made. also going to try canning just the meat and see how that turns out.
this is my first time canning on my own- kind of intimidating at first until you get the hang of it! wish me luck!
Thank you! I love my kitchen too! Good Luck with the canning. I felt the same way when I started. I had my mother to “hold my hand” the first time until I got used to it. All I could remember was, when I a kid, her making us (kids) go outside while she was canning “in case it blew up”. lol I was terrified the first time I canned.
So, if you want to can bone broth that has already been made, you just heat it up first?
I’m trying to find ways to free up freezer space, plus, a few years back lost everything to a fluke in the power…and didn’t notice for a week! Lost two small freezers of food! I’d like to prevent that by canning all I can instead of freezing and only freeze a small amount.
Any ideas for pressure canning meat? Especially since you have already done it? That would be a GREAT post to follow this one!
Hi Carol, Your story sounds exactly like mine. I make 2 instant pots of bone broth & yes, put it in the jars hot. I have done this by heating it up in a pot & dipping into the jars just prior to canning. My canner holds 7 qts & this makes enough to fill it. (Maybe a little left over). What I learned about canning meat is to put the meat in raw & do not add water. The meat will cook out the juices as it processes. (I made the mistake of adding water the 1st time & it overflowed in the canner, not pretty!) I do add salt in the bottom of the jar & any seasoning that I want such as garlic & onion powder. Please feel free to email me if you have any questions. renee@thehealthnutmama.com