
Last Updated on October 23, 2024 by Renee’
I recently decided to clean out my freezer. I have so much ground beef & venison in my freezers & after the recent Hurricanes, I decided I wanted it to be shelf stable & not have to worry about the power going out & losing everything in my freezer. Plus, it gives me more room for other stuff!
It is so easy to do & makes it so much easier to make dinner when you don’t have to thaw & cook the ground meat.
With most meats you can raw pack, but with ground beef or any ground meat I like to cook it almost done so that it is crumbly. This is perfect for making, chilis, soups, spaghetti sauces, stews & more.

The difference between Raw Pack or Hot Pack Methods
There are two methods of canning meat. One is a Raw Pack & the other is a Hot Pack method.
Raw Pack is easier because you just pack the meat into the jar without any liquid. This is best when using meat that is cut up in chunks. The Meat will make its own broth while canning. I made the mistake of adding water with the first batch & you can imagine the mess it made. Too much liquid has to go somewhere. Well after I cleaned up the mess (it just boiled out of the lids into the canner) I started again. This time with no water in the jars. It worked perfectly. Because it was grass-fed beef, the broth, after it was done canning, didn’t completely cover the meat. That’s not a problem. Raw Packing saves a lot of time & dishes. This is my favorite way to can meat.
That being said, If you are doing Venison or grass-fed beef you might want to do the Hot Pack Method because the meat might not have enough broth to cover the meat. To Hot Pack the meat you simply pre-cook the meat until rare with a little oil & add the hot meat, drippings, broth & enough filtered hot water/broth to cover the meat leaving 1 in. headspace. I also prefer to can ground meat with this method.
Always remember Hot meat, (hot pack) hot jars, and hot water in the canner. Cold meat (raw pack) in cold jars, cold water in the pressure canner.
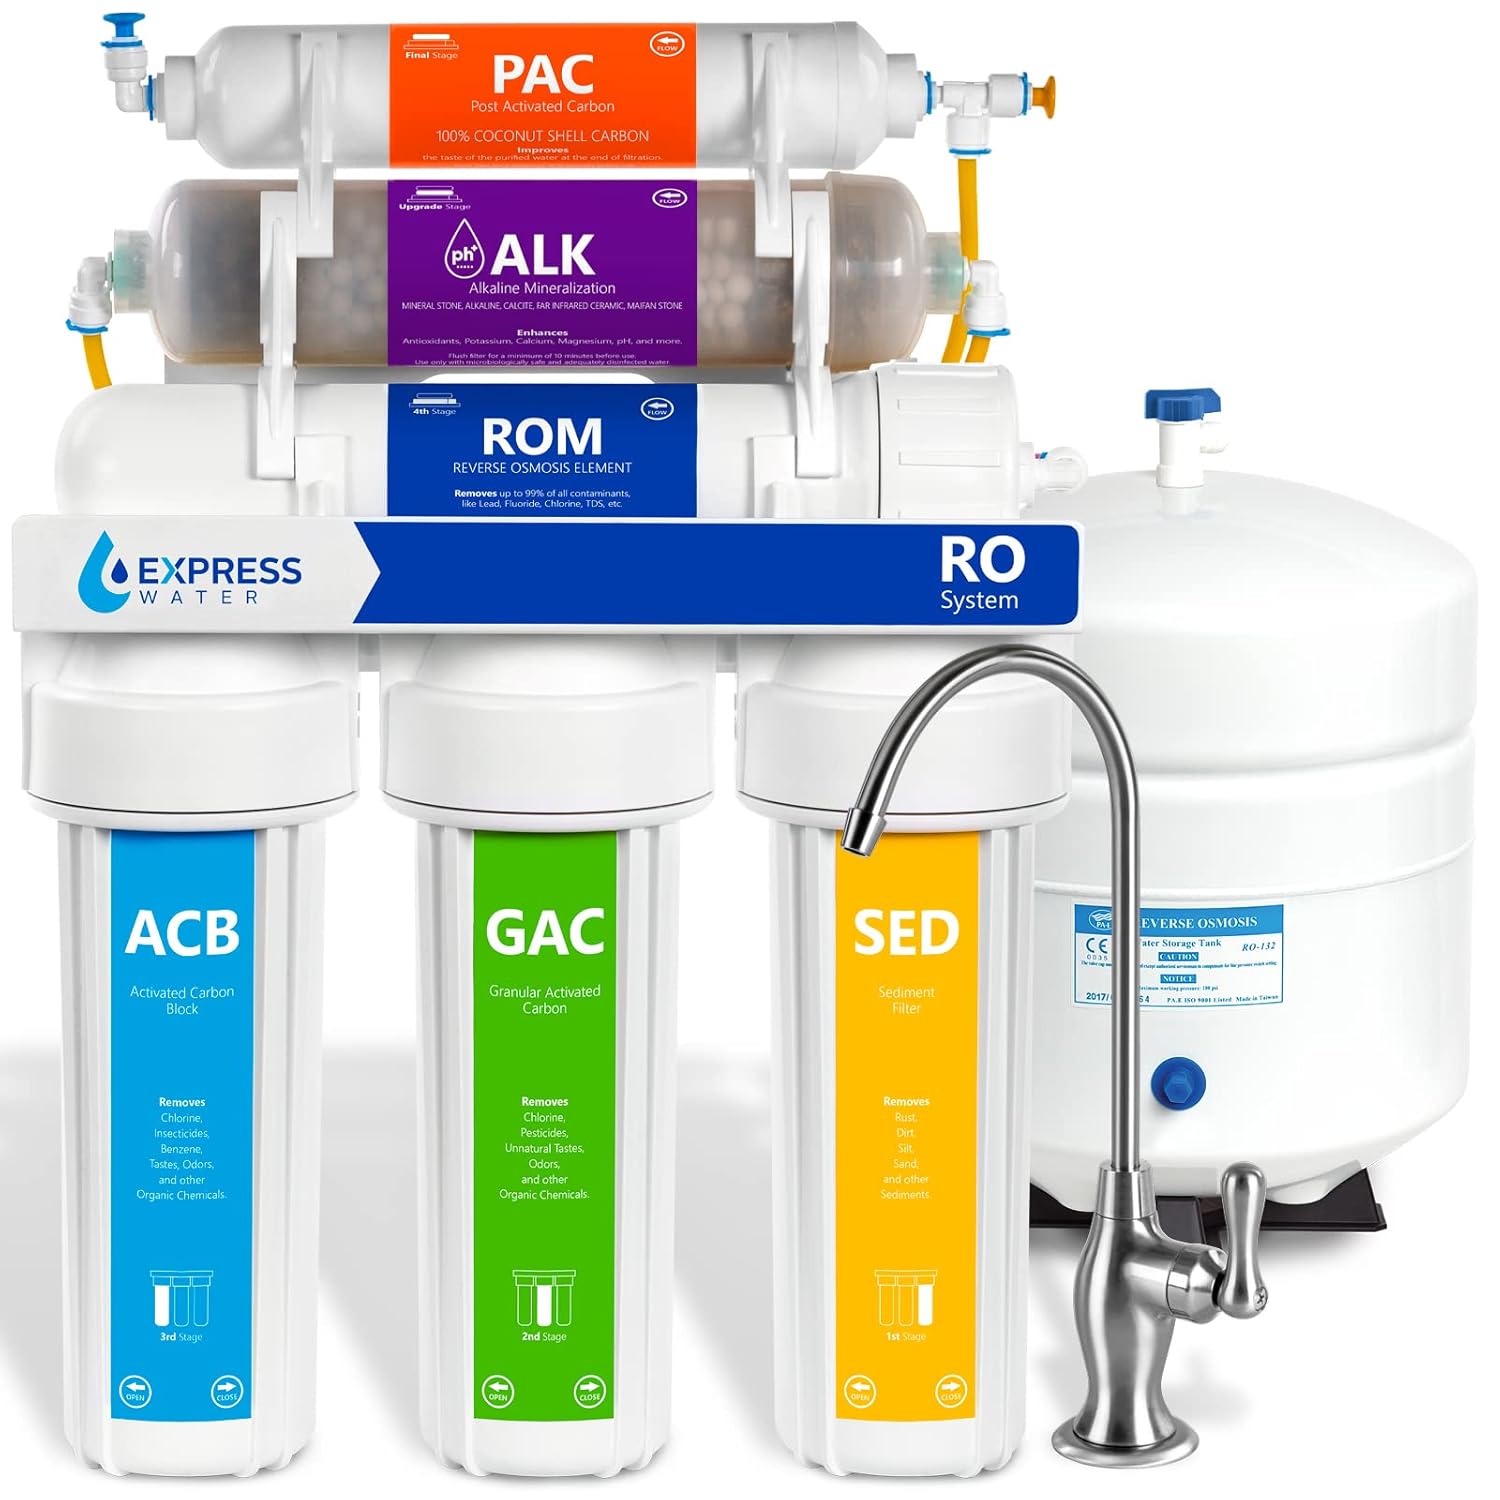
Make sure your water is filtered. No chlorine or fluoride. I used to use the Berkey Filter system but have recently put an under-sink Reverse Osmosis system in. I truly love it!
These methods apply to any meat, beef, venison, pork, bison, elk, bear, etc…
For more info on this read this article from the National Center for Home Food Preservation.
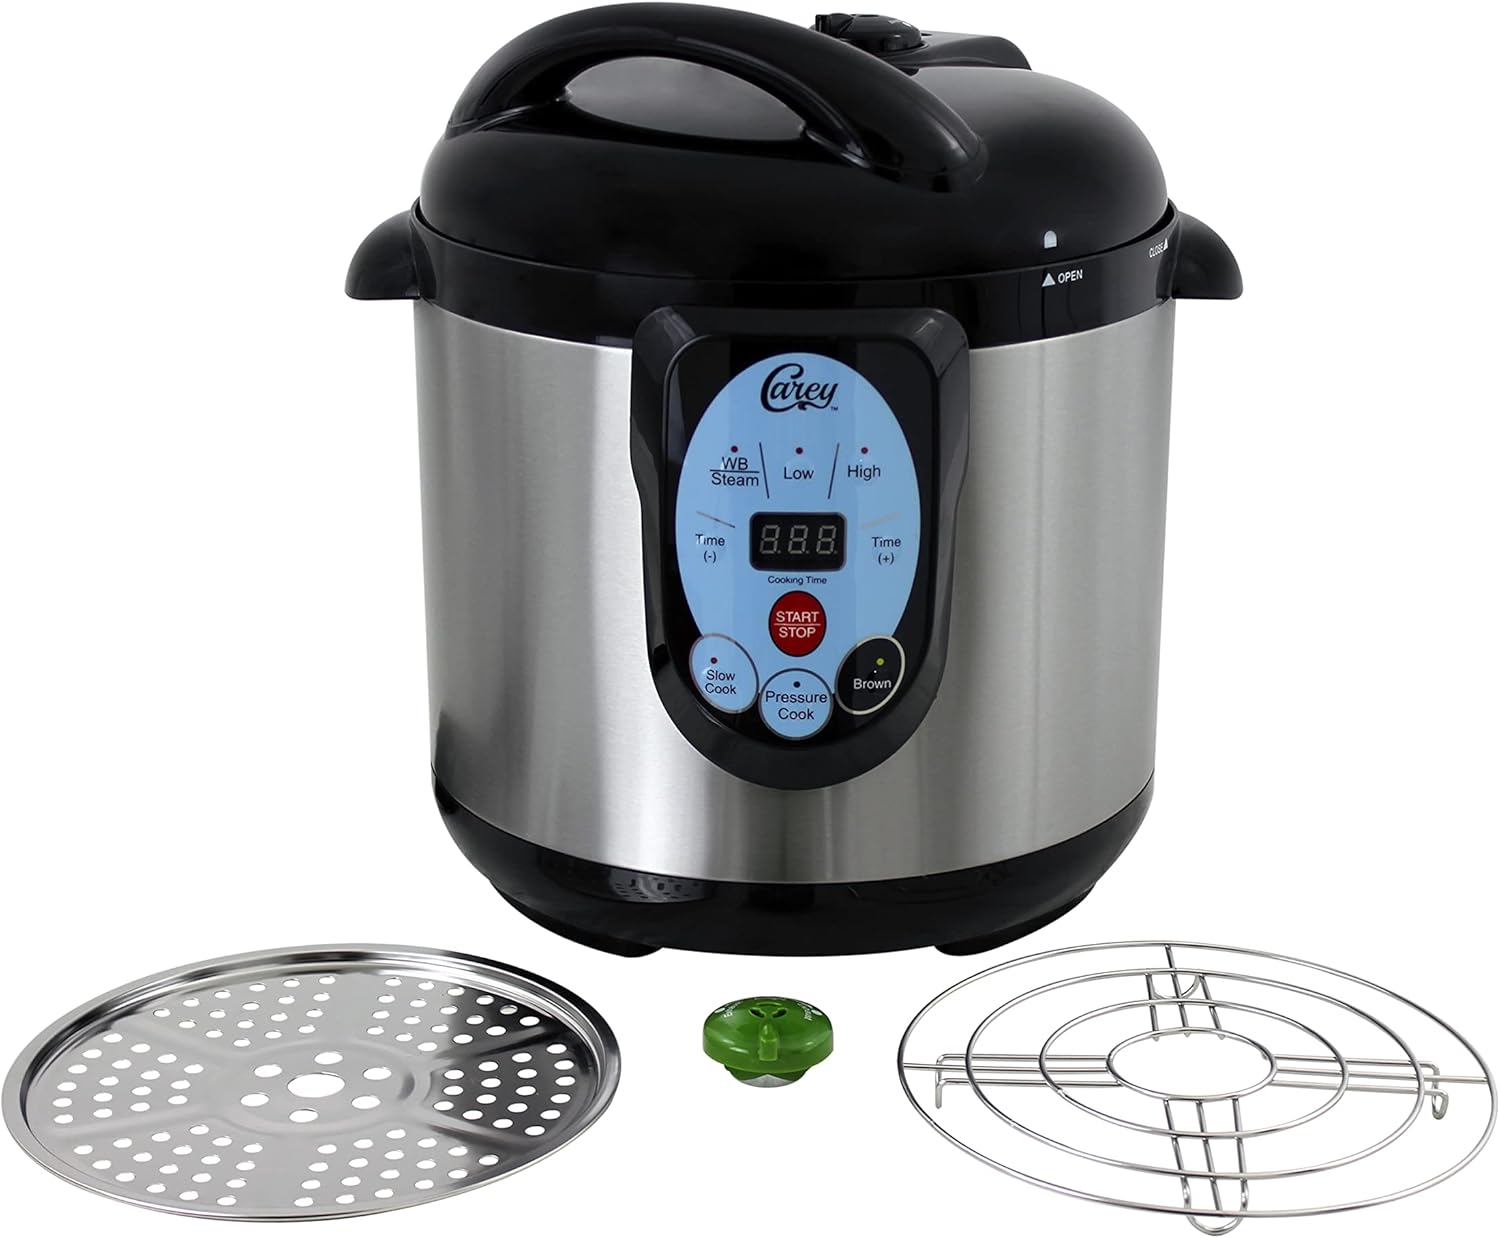
- I recently bought an Electric Canner. It’s all the rage now. OMG! I love that after it comes to pressure, you can leave it & you don’t have to monitor like a stove top canner. I can’t tell you how this has changed my life. I loved it so much that I bought another one. So much easier than my All-American. Don’t get me wrong, I still love it but this is a game-changer. It’s also perfect for small-batch canning.
- I included both Stovetop & Electric directions below.
Ingredients:
- Ground Beef, Venison etc… (1 lb is about 1 pint. 2 lbs per quart)
- Sea Salt (optional) 1 tsp. per quart or 1/2 tsp. per pint
- Filtered Water (I love my Reverse Osmosis system) Do not use Tap Water due to fluoride & chlorine.
- Onion Powder, Garlic Powder, or any favorite seasonings you like (think taco) (optional)

What you will Need:
- Electric Pressure Canner or Stovetop Canner
- Quart or pint jars with Lids (for electric canner you will need 4 qts or 5 pints) (make sure to read your canner’s instructions)
- Jar Lifter
- Large Pan (If using to boil lids)
- Large Pot (to cook ground meat)
- Bubble Remover or Wooden Spoon for removing bubbles (I use the handle or you can use a butter knife) (this is for the hot pack method)
Directions:
- Cook ground meat until about 1/2 done. It should be crumbly & hot through & through. Doesn’t have to be completely done.
- Sterilize Jars. My dishwasher has a sterile cycle, so I just make sure to run them on the sterile cycle ahead of time.
- Put the lids with bands into a pan of boiling water. (I have started skipping this step & haven’t had one lid to not seal)
- If using a Stovetop canner, fill about 1/4 – 1/3 way full with hot water or to the fill line if your canner has one & turn on low to med. heat.
- If using an Electric canner, add 8 cups of hot water.
- Add 1 tsp. of sea salt & any optional seasonings to quart jars or 1/2 tsp of salt to pint jars.
- Pack jars with hot meat, broth, drippings, & enough hot water/broth (not necessary, this is a personal preference) to fill leaving 1 in. headspace, packing firmly. Remove any air bubbles using the handle of a wooden spoon or butter knife or bubble remover.
- Wipe the rims of the jars with a damp paper towel & put the lids on using tongs if you choose to boil them. They will be hot. Don’t try to tighten too tight, just finger tight as they say.
- Use a jar lifter to put the jars into the pressure canner.
- Put the pressure canner’s lid on & tighten it according to your canner’s instructions.
- With my Stovetop pressure canner, I turn the heat up to med-high until steam starts coming out the vent then I close the vent & let it start building pressure. Make sure to follow your canner’s instruction manual.
- With my electric canner, I press High then put in the time & press Start. Make sure the weight is set to exhaust. When it gets up to pressure it will beep once & start counting down from 10. When it reaches zero, flip the weight to airtight. You can go on about your business at this point.
- For the Stovetop Canner, Bring pressure up to 10 lbs. Cook 75 min for pints or 90 min for quarts. Make sure to check your canner’s manual to adjust for your altitude.
- Once it is done, turn off the heat & let the pressure come completely down to zero. This is very important. Do not attempt to relieve pressure manually. Once the pressure has completely come down, open the vent & lid. The Electric canner usually takes about an hour before able to open. Be careful. The steam is very hot. I typically wait about 1 1/2 hours.
- Remove the jars using a jar lifter and allow them to cool for 12-24 hours before moving. You can remove the outer rings after canning, as they are not necessary.
Scroll down for a printable recipe card.
Please Share on Pinterest

More Canning Recipes:
- How to Can Potatoes
- How to Can Green Beans
- How to Can Okra
- How to Can Squash
- How to Can Bone Broth
- How to Can Tomatoes
- How to Can Beef or Venison
Ways to use Canned Ground Beef or Venison:
- Easy Paleo Beef Chili
- Paleo Korean Ground Beef over Cauliflower Rice
- Paleo Unstuffed Cabbage Roll Stew
- AIP Paleo Spaghetti with Meat Sauce
More info on canning & preserving here & get your free guide to canning here.
How to Can Ground Beef or Venison
Ingredients
- Ground Beef, Venison etc...(1 lb is equals about 1 pint. 2 lbs equals about 1 quart)
- Sea Salt (optional) 1 tsp. per quart or 1/2 tsp. per pint
- Filtered Water (I love my Reverse Osmosis system) Do not use Tap Water due to fluoride & chlorine.
- Onion Powder, Garlic Powder, or any favorite seasonings you like (think taco) (optional)
Instructions
- Cook ground meat until about 1/2 done. It should be crumbly & hot through & through. Doesn't have to be completely done.
- Sterilize Jars. My dishwasher has a sterile cycle, so I just make sure to run them on the sterile cycle ahead of time.
- Put the lids with bands into a pan of boiling water. (I have started skipping this step & haven't had one lid to not seal)
- If using a Stovetop canner, fill about 1/4 - 1/3 way full with hot water or to the fill line if your canner has one & turn on low to med. heat.
- If using an Electric canner, add 8 cups of hot water.
- Add 1 tsp. of sea salt & any optional seasonings to quart jars or 1/2 tsp of salt to pint jars.
- Pack jars with hot meat, broth, drippings, & enough hot water/broth (not necessary, this is a personal preference) to fill leaving 1 in. headspace, packing firmly. Remove any air bubbles using the handle of a wooden spoon or butter knife.
- Wipe the rims of the jars with a damp paper towel & put the lids on using tongs if you choose to boil them. They will be hot. Don't try to tighten too tight, just finger tight as they say.
- Use a jar lifter to put the jars into the pressure canner.
- Put the pressure canner's lid on & tighten it according to your canner's instructions.
- With my Stovetop pressure canner, I turn the heat up to med-high until steam starts coming out the vent then I close the vent & let it start building pressure. Make sure to follow your canner's instruction manual.
- With my electric canner I press High then put in the time & press start. Make sure the weight is set to exhaust. When it gets up to pressure it will beep once & start counting down from 10. When it reaches zero, flip the weight to airtight. You can go on about your business at this point.
- For the Stovetop Canner, Bring pressure up to 10 lbs. Cook 75 min for pints or 90 min for quarts. Make sure to check your canners manual to adjust for your altitude.
- Once it is done, turn off the heat & let the pressure come completely down to zero. This is very important. Do not attempt to relieve pressure manually. Once the pressure has completely come down, open the vent & lid. The Electric canner usually takes about an hour before able to open. Be careful. The steam is very hot. I usually wait about 1 1/2 hours.
- Remove jars using jar lifter & allow to cool for 12-24 hours before moving. You can remove the outer rings as they are not necessary after canning.